Quick Navigation:
| | | |
Refraction Through A Lens
Hello Students! Here is your complete, section-by-section study guide for our chapter on Lenses. Use these detailed notes to master every concept, ray diagram rule, and formula for your Class 10 board exams. Happy studying!
5.1 Lens
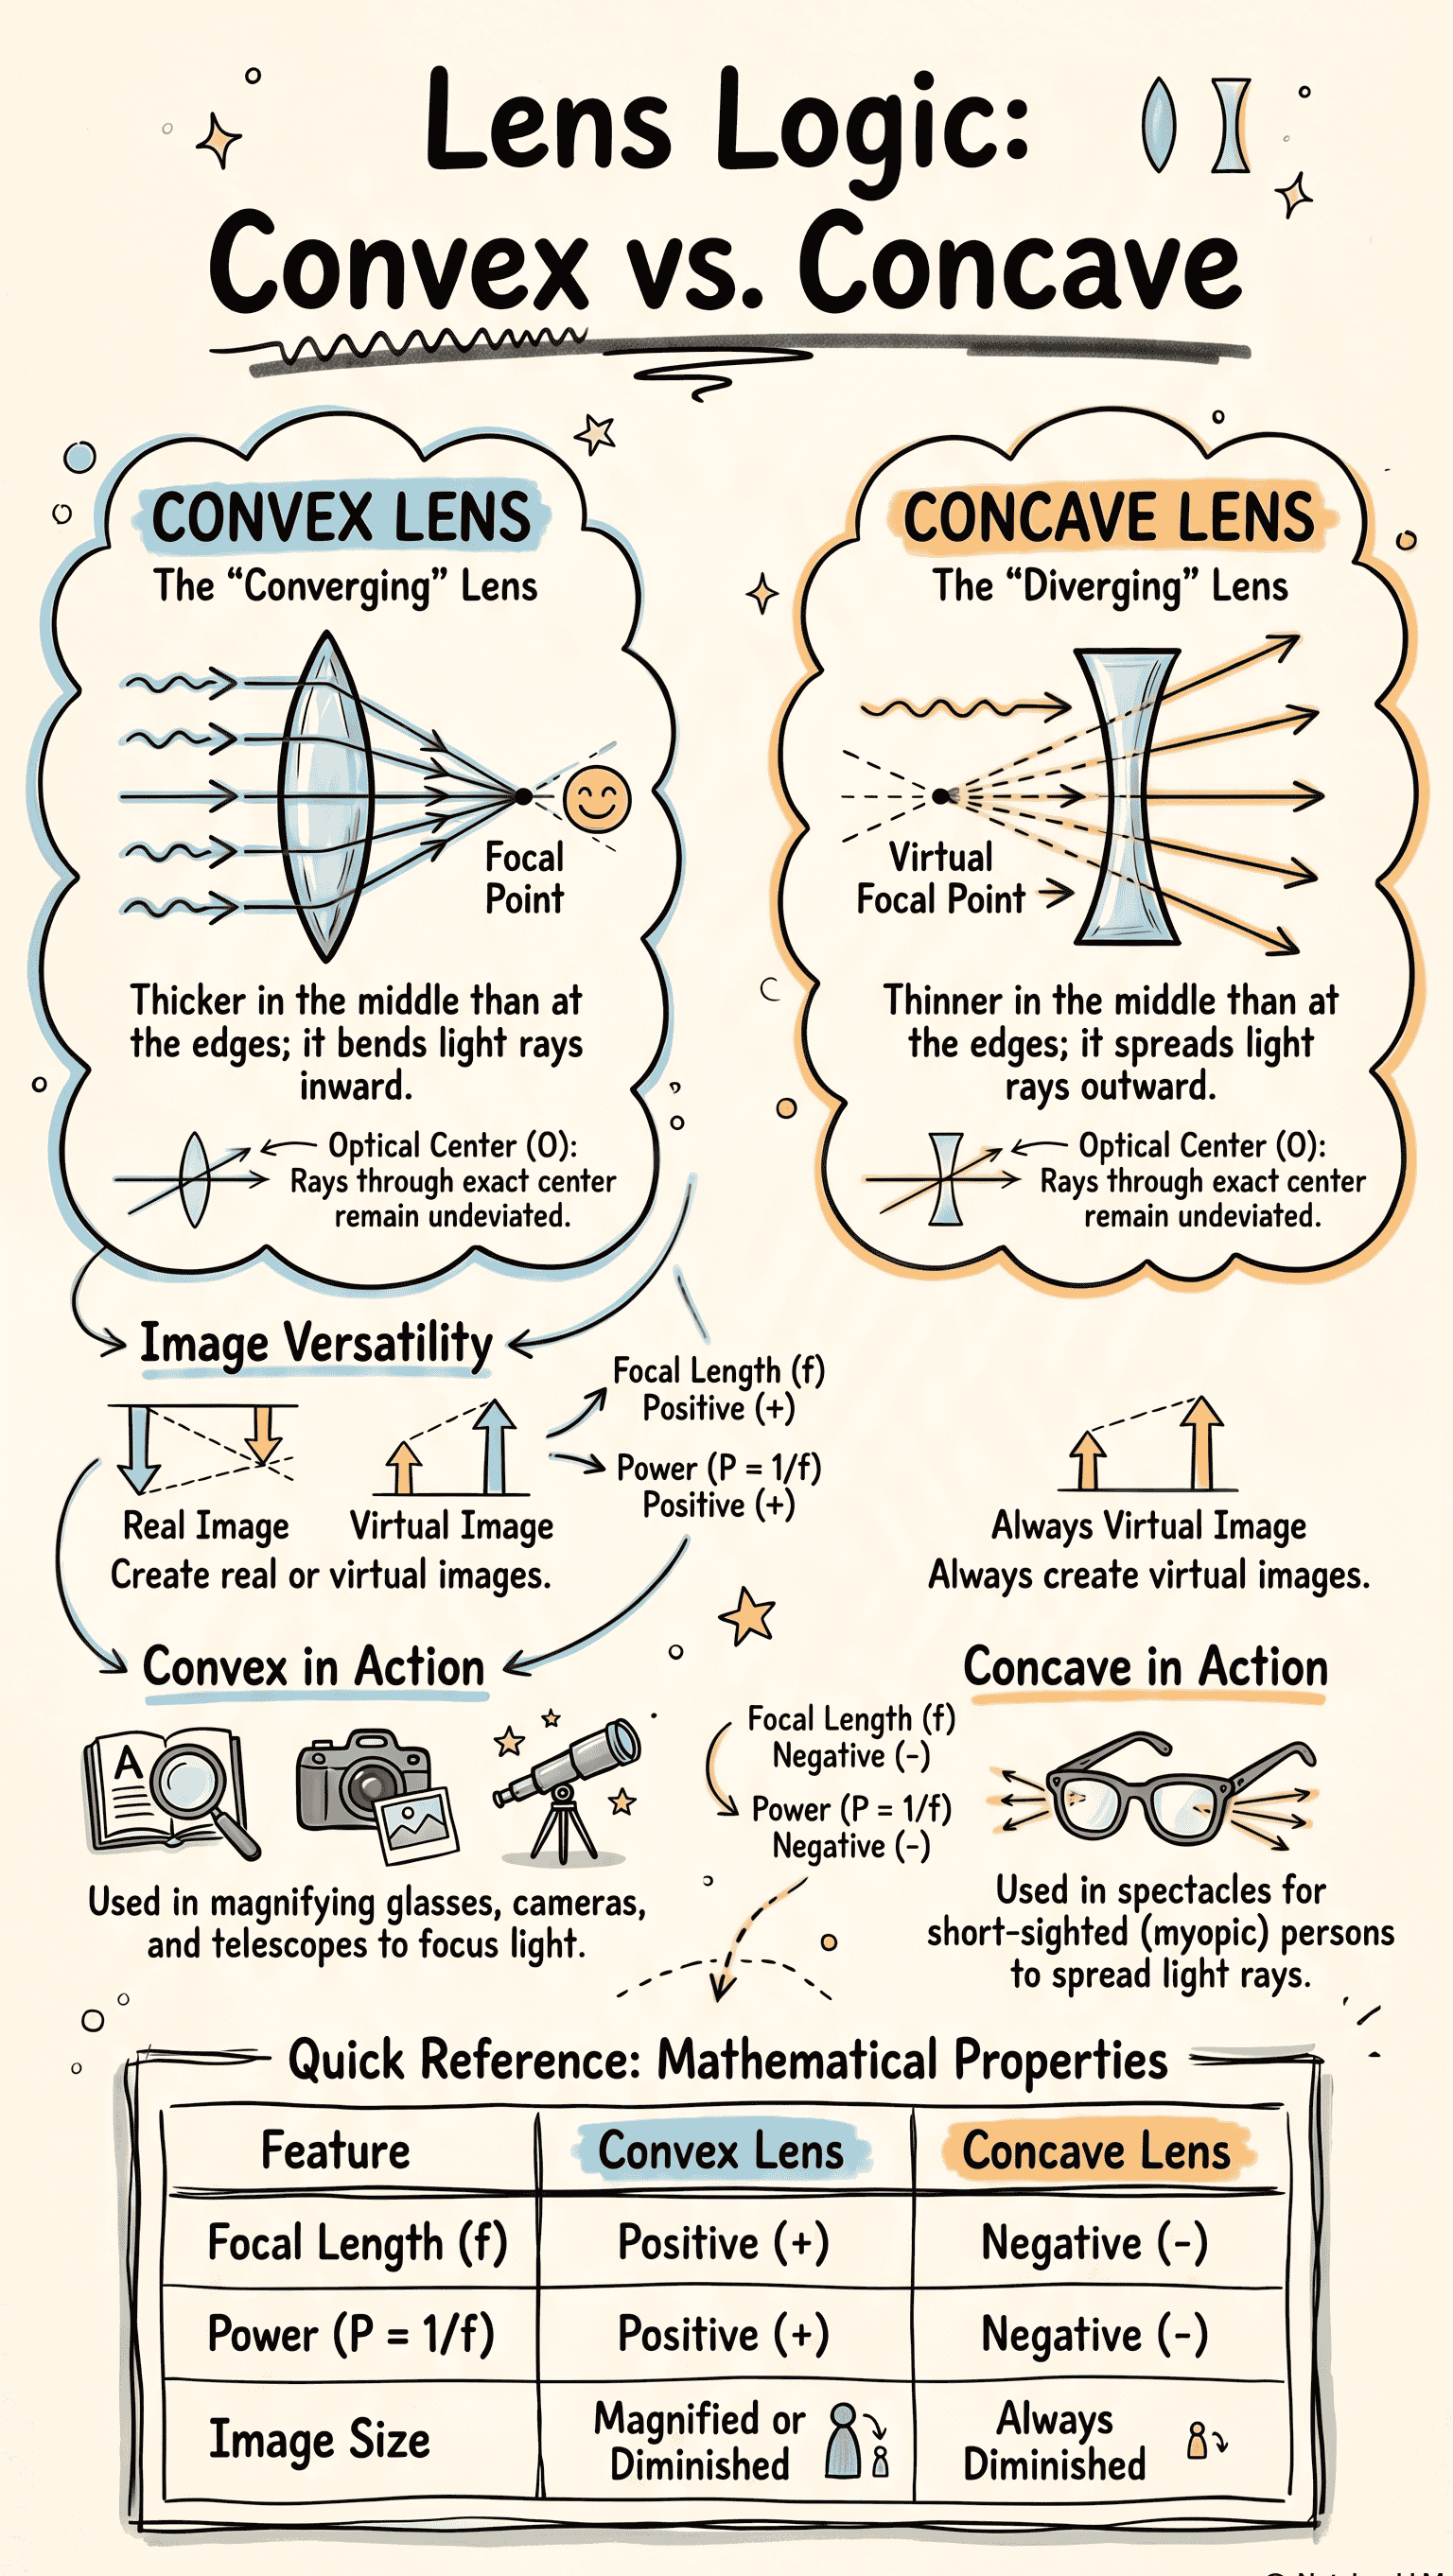
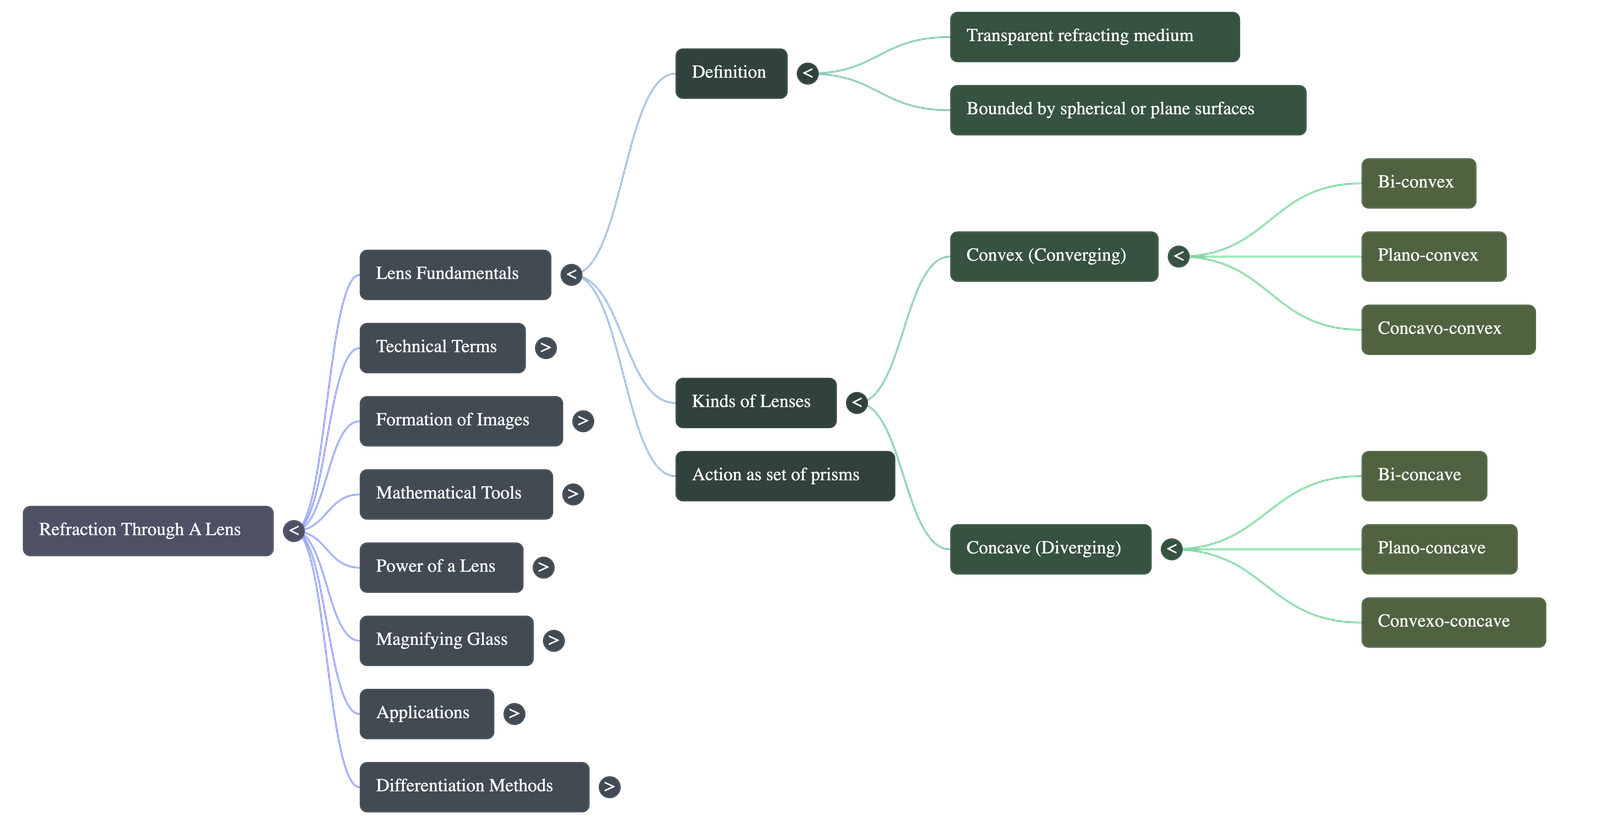
- Definition: A lens is a transparent refracting medium bounded by either two spherical surfaces or one spherical and one plane surface.
- Kinds of Lenses:
- Convex (Converging) Lens: Thick in the middle and thin at the periphery. It converges a light beam passing through it. Types include bi-convex (both surfaces convex), plano-convex (one plane, one convex), and concavo-convex (thicker in the middle than edges).
- Concave (Diverging) Lens: Thin in the middle and thick at the periphery. It diverges a light beam passing through it. Types include bi-concave (both surfaces concave), plano-concave (one plane, one concave), and convexo-concave (thinner in the middle than edges).
5.2 Action of a Lens as a Set of Prisms
- A lens can be imagined as being made up of numerous small prisms, with a rectangular glass slab right at the optical centre.
- Convex Lens Action: The upper prisms have bases downwards and lower prisms have bases upwards. Since prisms bend light towards their base, the upper and lower rays are bent towards the central axis, giving the convex lens a converging action.
- Concave Lens Action: The upper prisms have bases upwards and lower prisms have bases downwards. Rays are bent towards the bases (away from the central axis), giving the concave lens a diverging action.
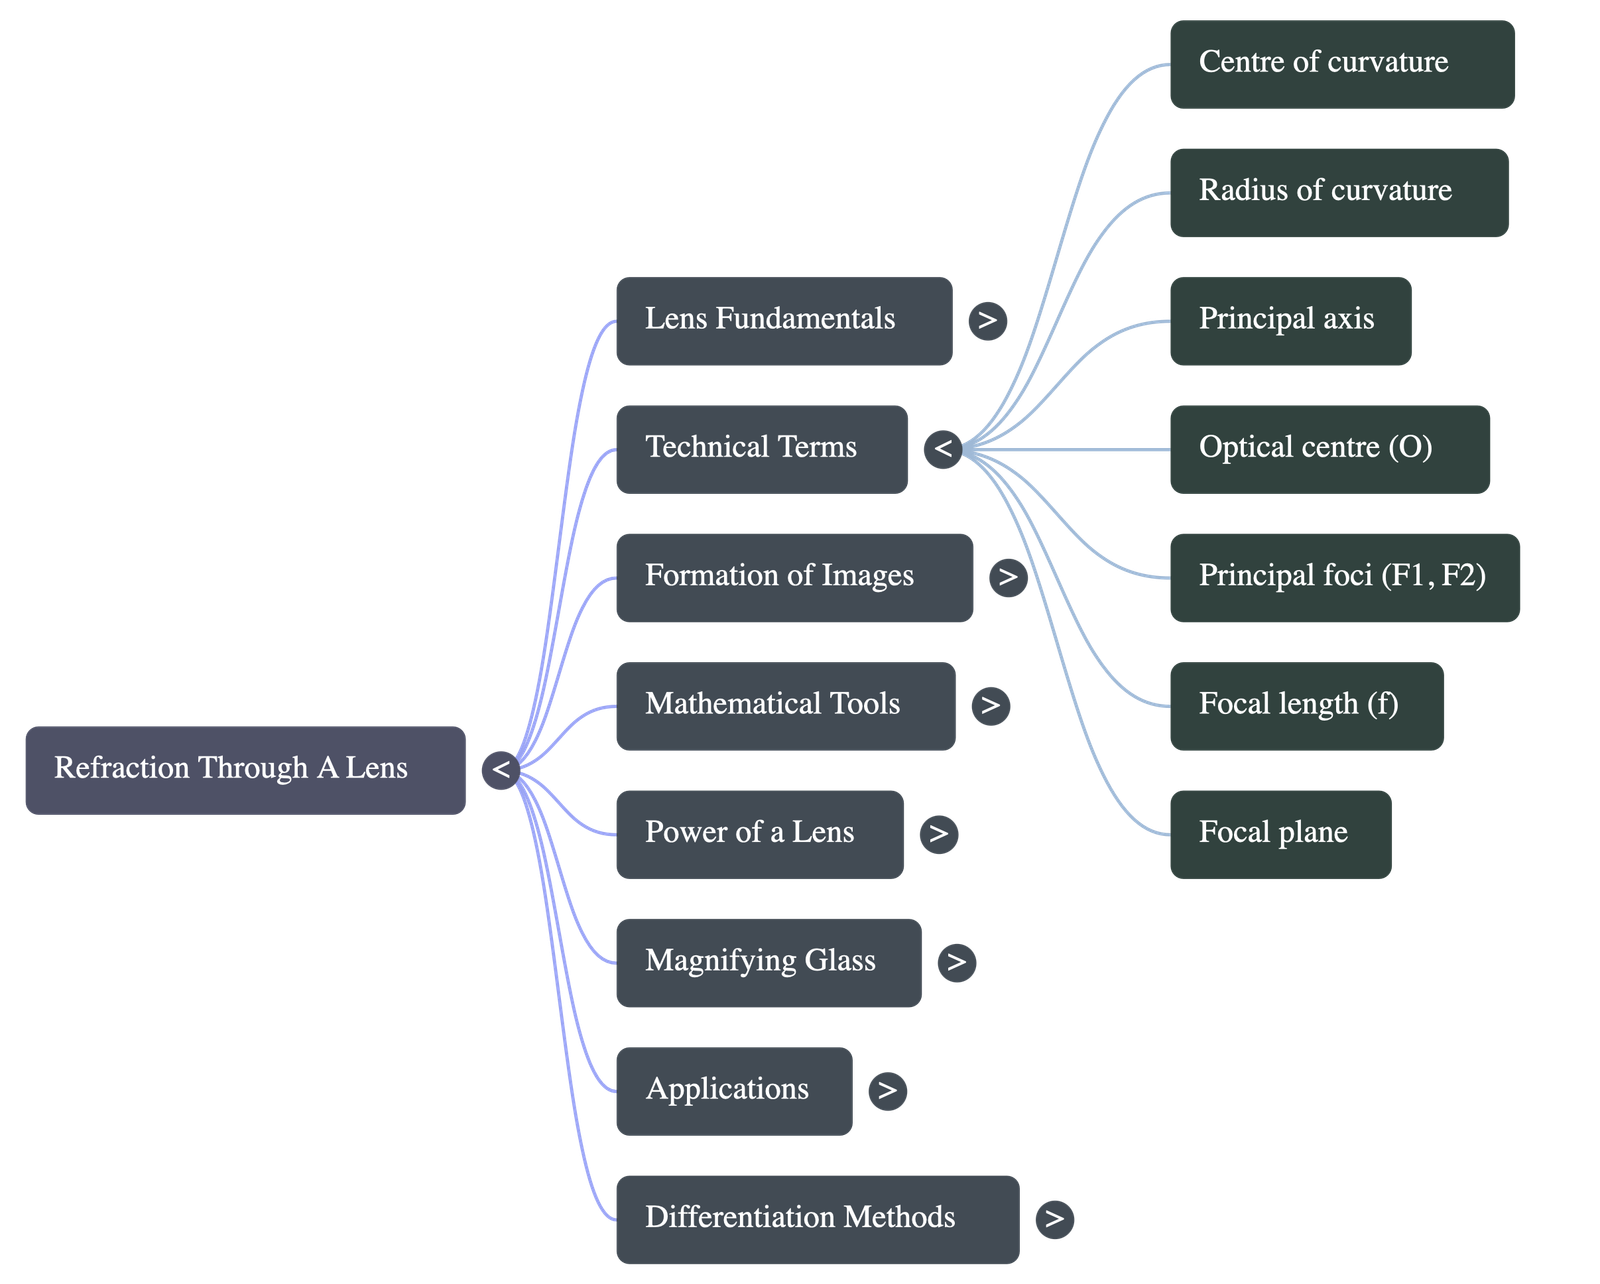
5.3 Technical Terms Related to a Lens
- Centre of Curvature: The centre of the sphere whose part forms the lens surface. A lens has two centres of curvature.
- Radius of Curvature: The radius of the sphere whose part forms the lens surface.
- Principal Axis: The imaginary straight line joining the two centres of curvature of the lens surfaces.
- Optical Centre (O): A point on the principal axis such that a ray of light directed towards it passes through the lens undeviated and undisplaced (for a thin lens).
- Principal Foci: A lens has two principal foci.
- First Focal Point (F₁): A point on the principal axis where light rays coming from it (convex) or appearing to meet at it (concave) become parallel to the principal axis after refraction.
- Second Focal Point (F₂): A point on the principal axis where light rays initially parallel to the principal axis converge to (convex) or appear to diverge from (concave) after refraction. This is usually referred to as the main "focus".
- Focal Plane: A plane passing through the focus and normal (perpendicular) to the principal axis.
- Focal Length (f): The distance from the optical centre to the focal point. It depends on the refractive index of the lens material and the radii of curvature. A thick lens has a shorter focal length than a thin lens. Note: Covering a portion of a lens does not change its focal length, but it reduces the intensity (brightness) of the image.
5.4 Refraction Through Equi-Convex and Equi-Concave Lenses
- When a ray of light passes through a lens, it suffers refraction at both surfaces (air to glass, then glass to air).
- In a convex lens, the ray bends towards the normal at the first surface and away from the normal at the second surface, resulting in a net deviation towards the thicker middle portion.
- In a concave lens, the ray also undergoes two refractions, but the net deviation is towards the thicker outer edges.
- For simple ray diagrams, we show the net bending at a straight vertical line passing through the optical centre instead of bending it at both surfaces separately.
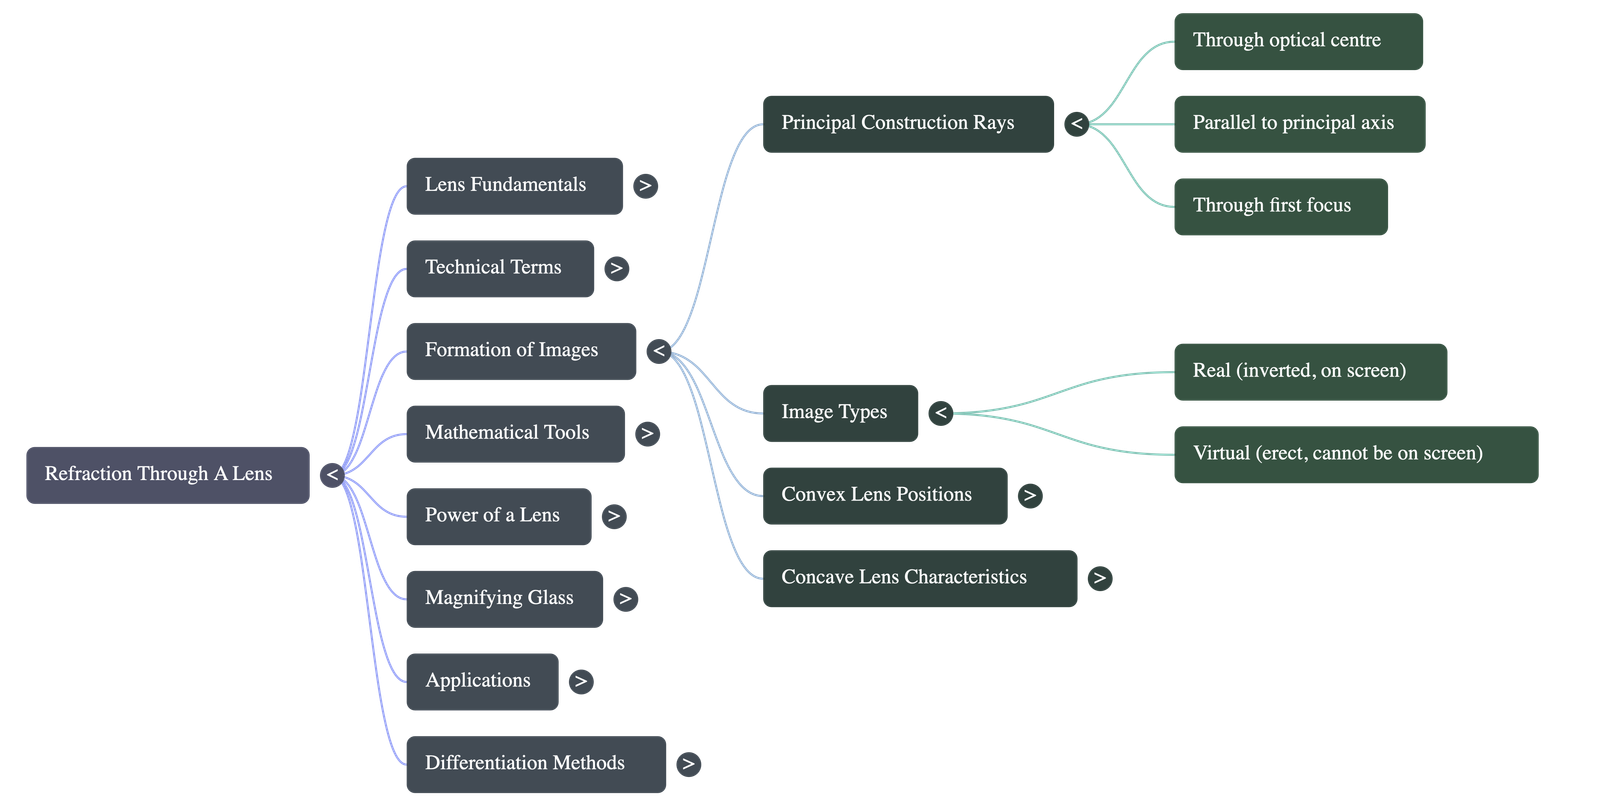
5.5 Principal (or Construction) Rays for Ray Diagrams
- To construct a ray diagram, we generally use any two of the following three standard rays:
- A ray incident at the optical centre passes undeviated.
- A ray incident parallel to the principal axis passes through the second focus (convex) or appears to diverge from the second focus (concave) after refraction.
- A ray passing through the first focus (convex) or directed towards it (concave) becomes parallel to the principal axis after refraction.
- Types of Images:
- Real Image: Formed by actual intersection of rays. Can be obtained on a screen. Always inverted.
- Virtual Image: Formed when rays appear to meet when produced backwards. Cannot be obtained on a screen. Always erect.
5.6 Construction of Ray Diagram for a Lens
- Draw a horizontal line as the principal axis and mark the optical centre (O).
- Mark the two principal foci (F₁ and F₂) at equal distances on either side of O.
- Represent the object as a vertical arrow (AB) on the principal axis.
- Draw one ray from the top of the object through the optical centre (undeviated).
- Draw a second ray from the top of the object parallel to the principal axis, passing through the focus after refraction.
- The point of intersection of these two refracted rays (A') is the image of the top point. Drop a perpendicular to the axis to get the complete image (A'B').
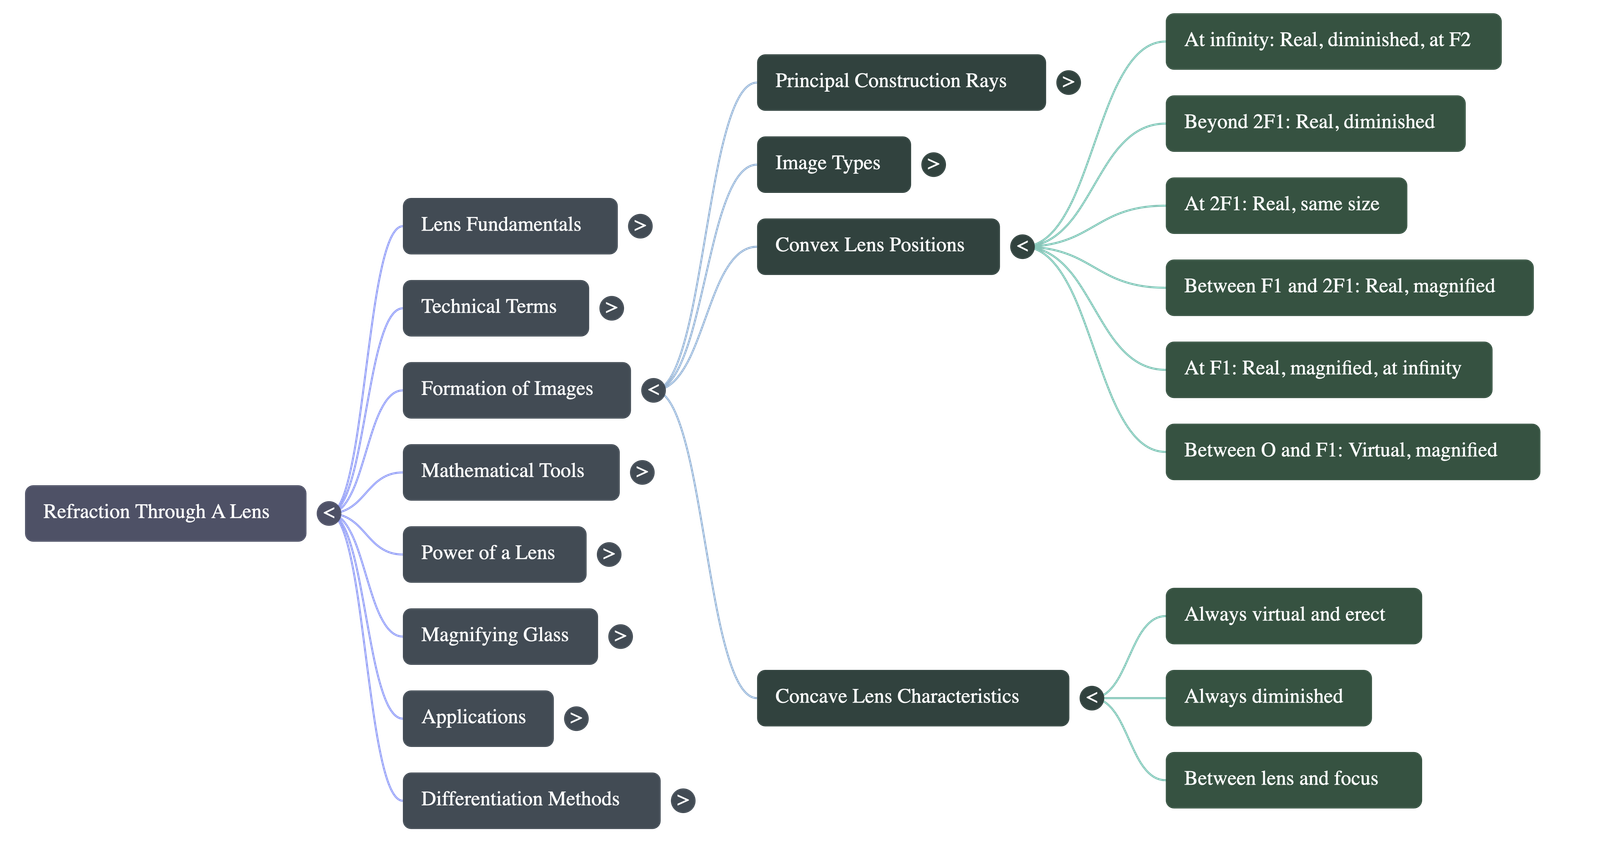
5.7 Characteristics and Location of Images for a Convex Lens
| Position of Object | Position of Image | Size of Image | Nature of Image | Application |
|---|---|---|---|---|
| At infinity | At F₂ | Highly diminished (point size) | Real and inverted | Burning glass |
| Beyond 2F₁ | Between F₂ and 2F₂ | Diminished | Real and inverted | Camera lens |
| At 2F₁ | At 2F₂ | Same size as object | Real and inverted | Terrestrial telescope |
| Between F₁ and 2F₁ | Beyond 2F₂ | Magnified | Real and inverted | Slide projector/cinema |
| At F₁ | At infinity | Highly magnified | Real and inverted | Collimator of spectrometer |
| Between O and F₁ | On the same side, behind object | Magnified | Virtual and erect | Magnifying glass |
5.8 Characteristics and Location of Images for a Concave Lens
- When object is at infinity: Image is formed at the focus (F₂) on the same side. It is virtual, erect, and highly diminished. (Application: Galilean telescope).
- When object is at any finite distance: Image is always formed between the optical centre and the focus (F₂) on the same side as the object. It is always virtual, erect, and diminished. (Application: Spectacles for short-sightedness).
- As the object moves closer to the lens, the image shifts towards the optical centre and its size gradually increases, but it never becomes larger than the object.
5.9 Difference Between Image Formed by a Convex and a Concave Lens
- Convex Lens Image: Can be real or virtual (depending on object distance). Can be magnified, diminished, or the same size. Can be inverted or erect.
- Concave Lens Image: Is always virtual. Is always diminished. Is always erect, regardless of the object's position.
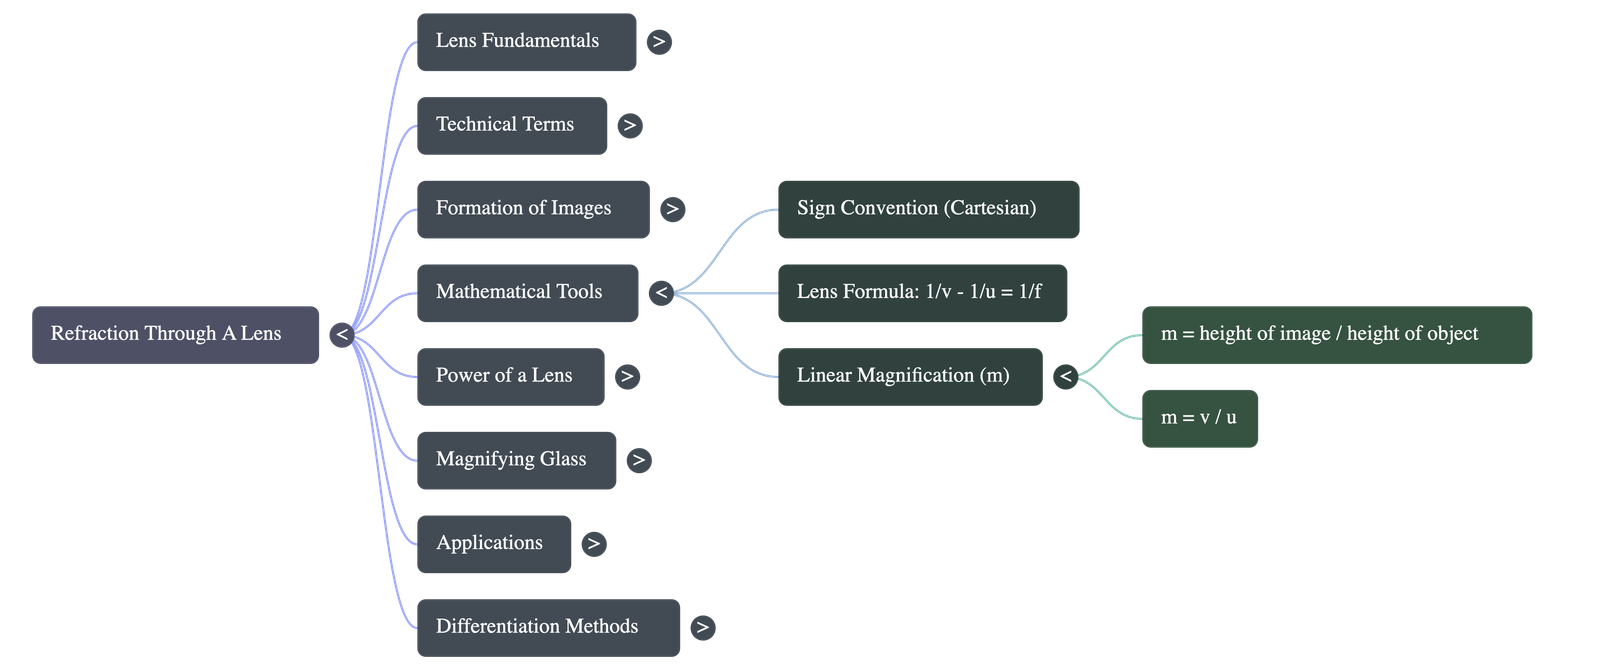
5.10 Sign Convention in the Measurement of Distances
- We follow the Cartesian sign convention. The optical centre is chosen as the origin.
- The object is always placed on the left side of the lens. Thus, object distance (u) is always negative.
- All distances are measured from the optical centre along the principal axis.
- Distances measured in the direction of incident light are taken as positive. Distances against incident light are negative.
- Heights above the principal axis are positive; heights below are negative.
- Focal length (f): Positive for a convex lens. Negative for a concave lens.
- Image distance (v): Positive for a real image (formed behind lens). Negative for a virtual image (formed in front of lens).
5.11 Lens Formula
1 / v - 1 / u = 1 / f
- This equation relates object distance (u), image distance (v), and focal length (f).
- It is identical for both convex and concave lenses. In numericals, values must be substituted with their proper signs.
5.12 Linear Magnification
- Definition: The ratio of the height of the image (I) to the height of the object (O).
- Formula: m = I / O = v / u
- If numerical value |m| > 1, image is magnified. If |m| = 1, image is same size. If |m| < 1, image is diminished.
- For a real, inverted image, m is negative.
- For a virtual, erect image, m is positive.
- Concave lenses always produce m that is positive and less than 1.
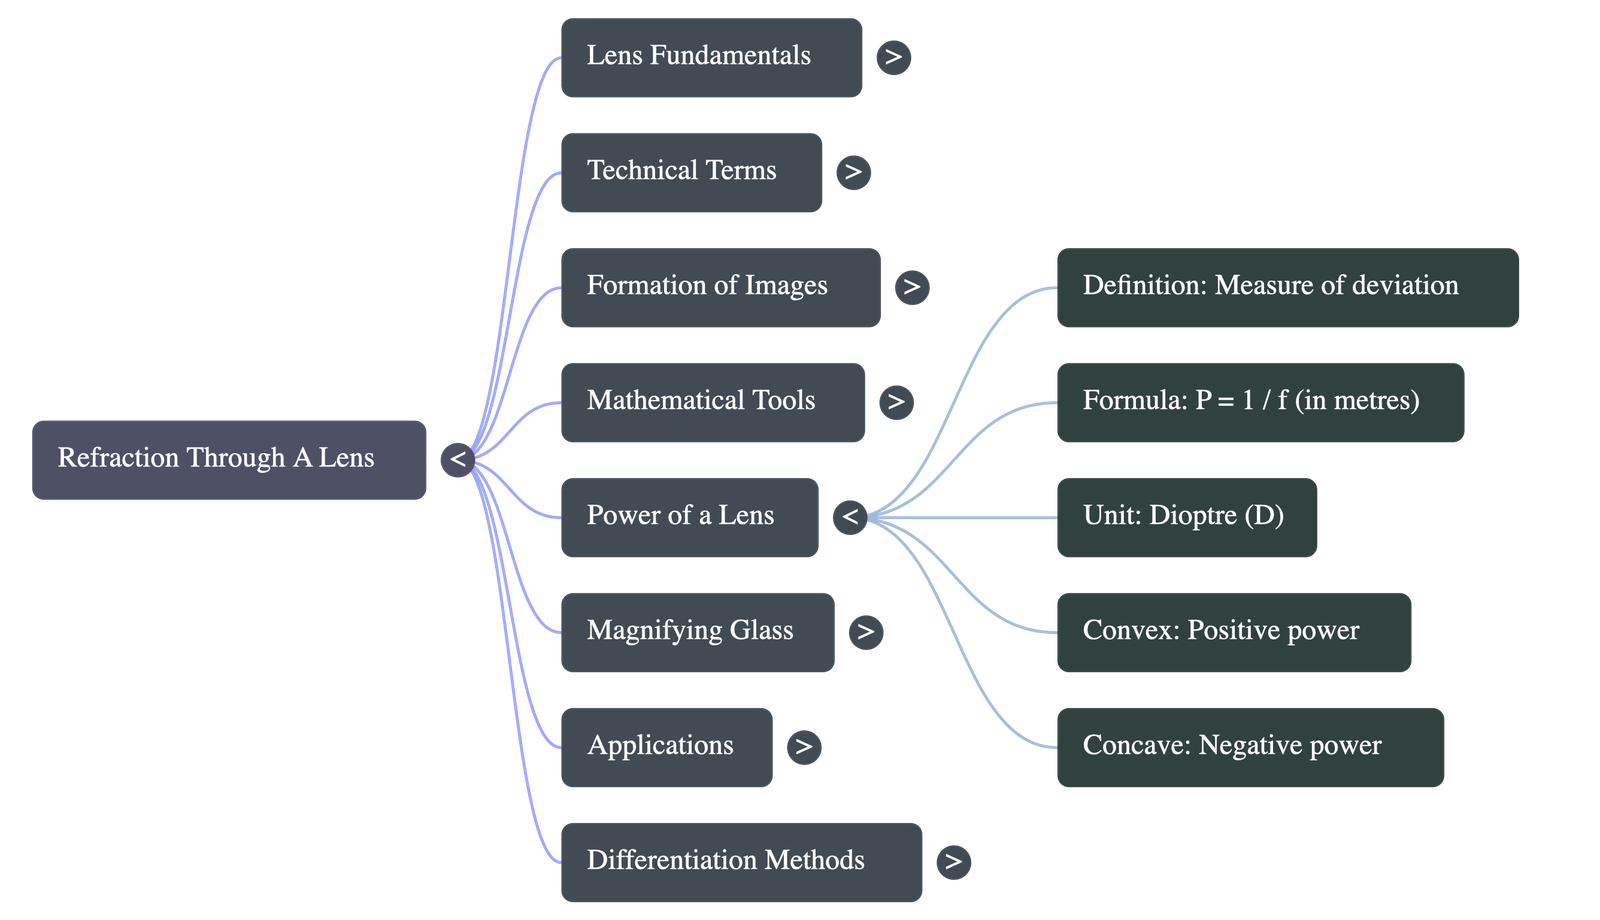
5.13 Power of a Lens
- Definition: It is a measure of the deviation a lens produces on the incident light rays. A thicker lens deviates rays more, hence has higher power.
- Formula: Power (P) = 1 / f (where focal length is in metres).
- Unit: Dioptre (symbol D). 1 D is the power of a lens whose focal length is 1 metre.
- Power is positive for a convex lens (converging) and negative for a concave lens (diverging).
- When two lenses are placed in contact, the total power is the algebraic sum of their individual powers. (P = P₁ + P₂)
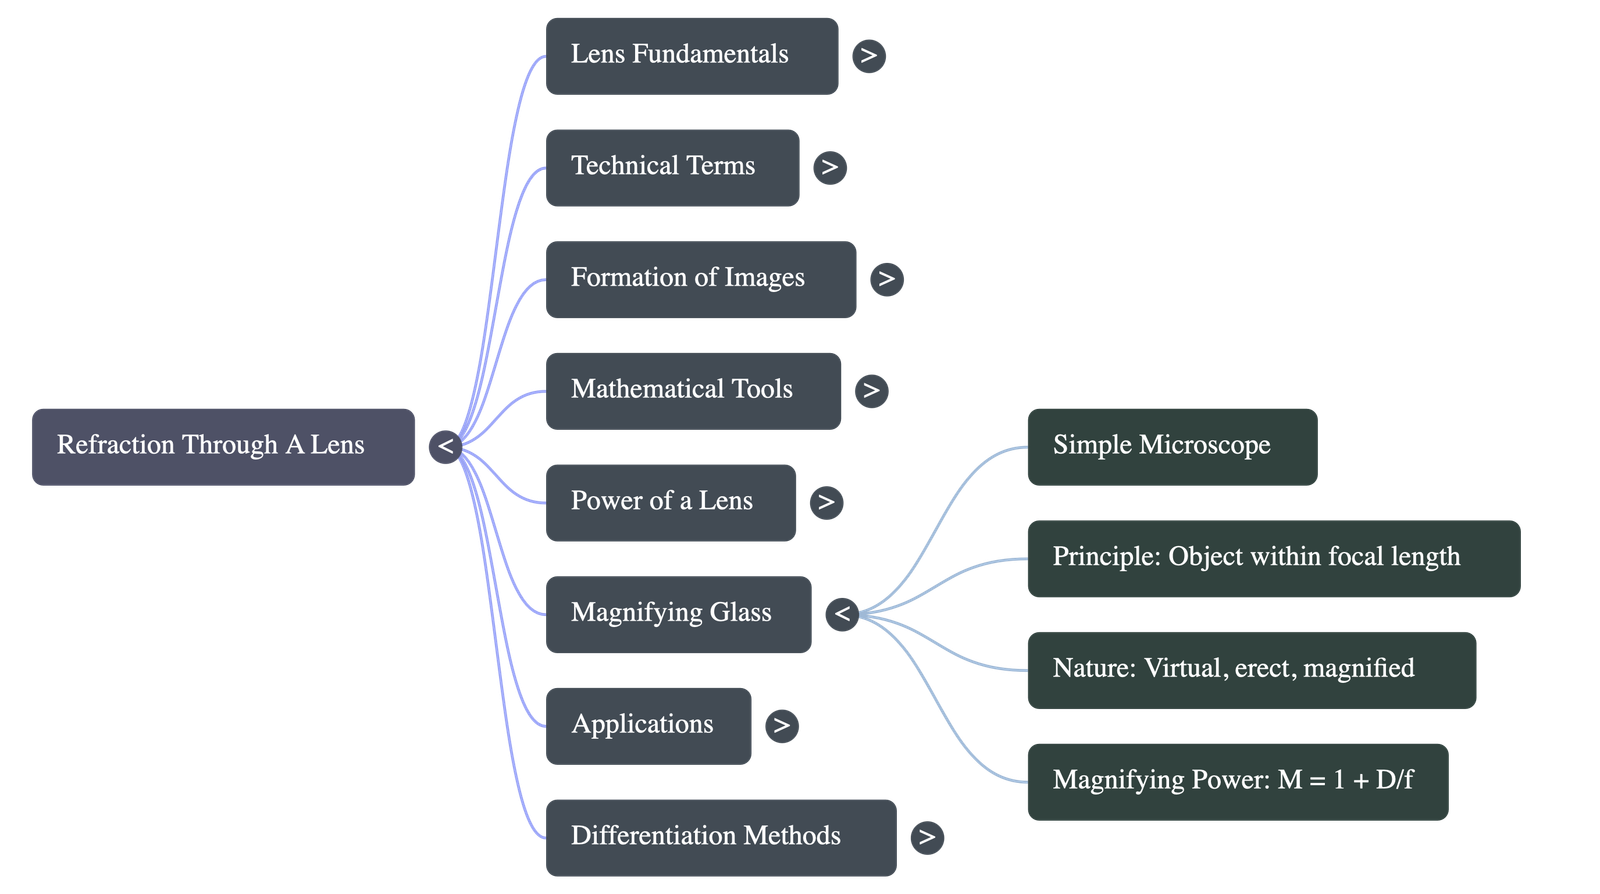
5.14 Magnifying Glass or Simple Microscope
- Principle: To see an object distinctly, it should subtend a large angle at the eye. A convex lens of short focal length acts as a magnifier when the object is placed between its optical centre and focus.
- The image formed is virtual, erect, and magnified. It is ideally formed at the least distance of distinct vision (D = 25 cm for a normal eye).
- Magnifying Power (M): given by M = 1 + (D / f). The smaller the focal length, the greater the magnifying power.
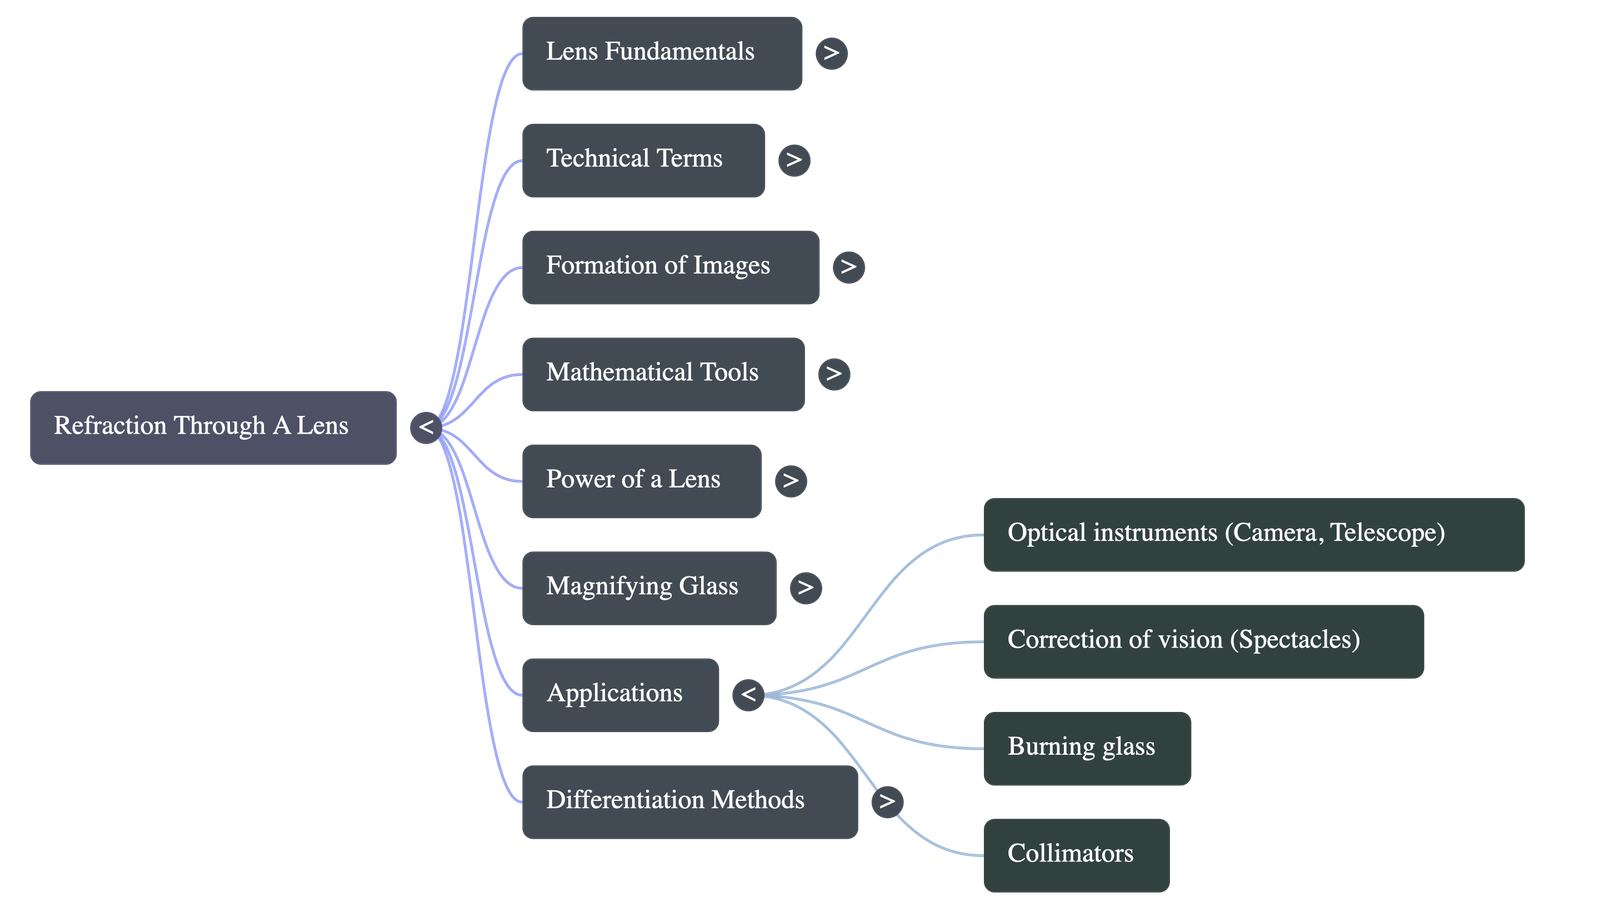
5.15 Application of Lenses
- Convex Lenses: Used as objective lenses in telescopes, cameras, and slide projectors (forming real, inverted images). Also used as the eye lens in telescopes, as magnifying glasses (forming virtual, erect images), and in spectacles to correct long-sightedness (hypermetropia).
- Concave Lenses: Used as the eye lens in Galilean telescopes (to get final erect images) and in spectacles to correct short-sightedness (myopia).
- A combination of convex and concave lenses is sometimes used in high-quality optical instruments to overcome defects like chromatic aberration.
5.16 Experimental Determination of Focal Length of a Convex Lens
- Method 1: Distant Object Method (Estimation)
- Hold the lens to focus the image of a very distant object (like a tree) on a wall or screen.
- Measure the distance between the lens and the screen using a metre rule. This distance is the approximate focal length because parallel rays converge at the focus.
- Method 2: Auxiliary Plane Mirror Method (Exact)
- Place a convex lens horizontally on a plane mirror. Position a horizontal pin above the lens on a vertical stand.
- Adjust the pin's height until its tip exactly coincides with the tip of its own inverted image, ensuring there is no parallax (meaning they move together when you move your eye).
- At this point, rays from the pin become parallel after passing through the lens, strike the mirror normally, and retrace their path.
- The distance from the lens to the pin is the exact focal length.
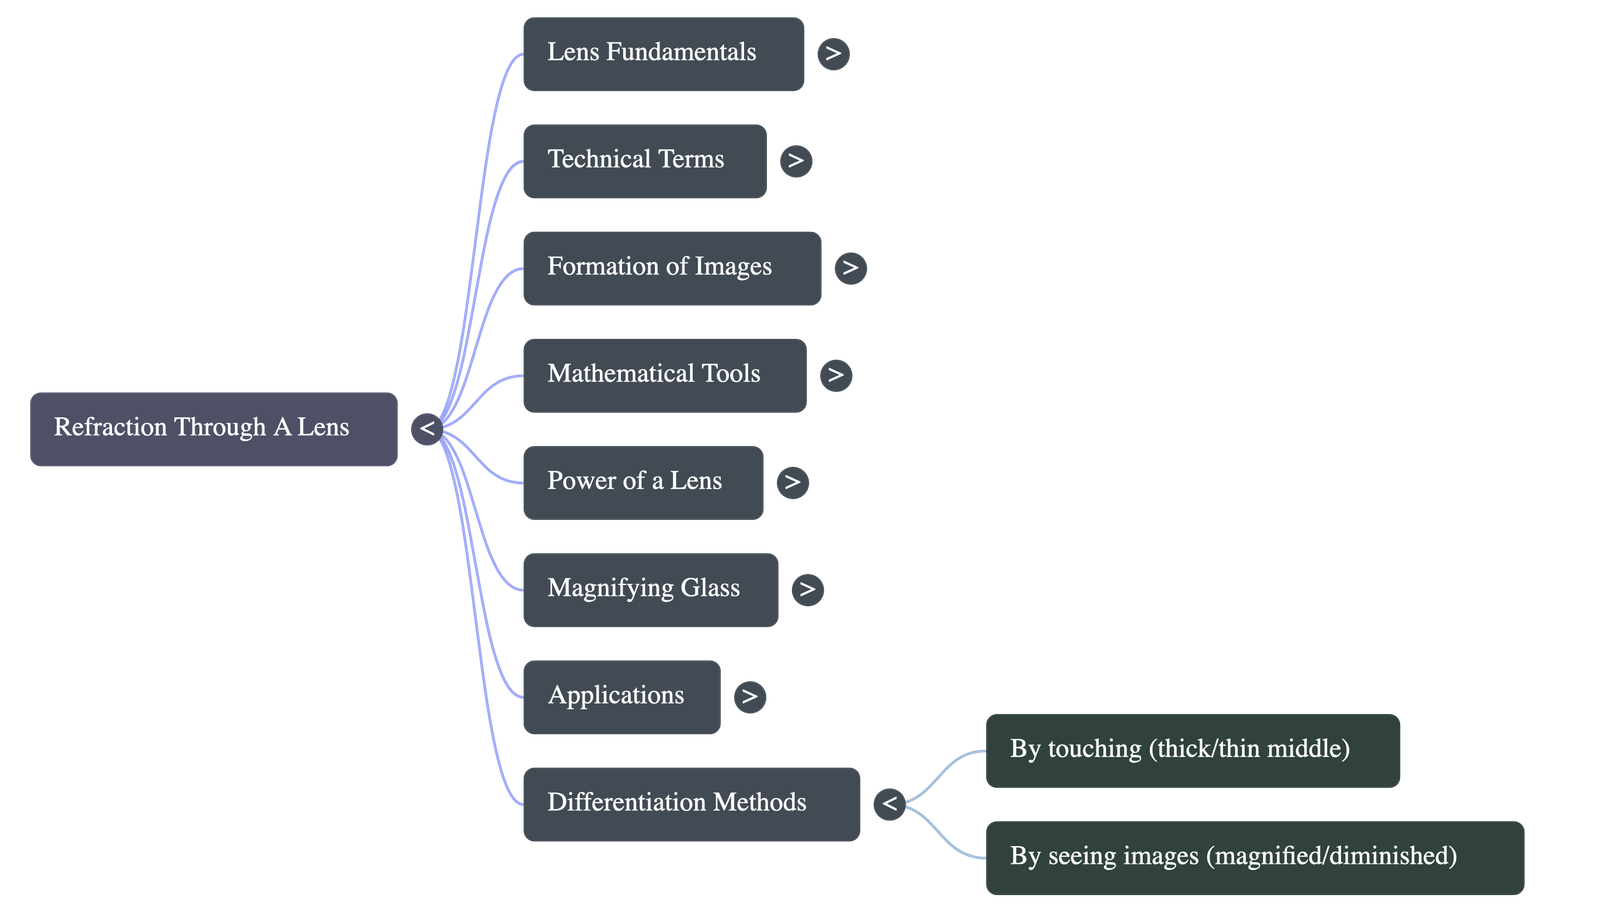
5.17 To Differentiate Between a Convex and a Concave Lens
- By Touching: If the lens feels thick in the middle and thin at the edges, it is convex. If it is thin in the middle and thick at the edges, it is concave.
- By Seeing the Image:
- Hold the lens close to a printed page. If the letters appear magnified, it is a convex lens. If the letters appear diminished, it is a concave lens.
- Alternatively, look at a distant object through the lens. If the image is inverted, it is convex. If the image is upright, it is concave.
End of Chapter Summary — Best of luck with your physics preparations!
Do checkout all questions & answers of this chapter.
Quick Navigation:
| | | |
1 / 1
Quick Navigation:
| | | |
Quick Navigation:
| | | |